Do you remember the blog post The KNIME Hub - Share and Collaborate, where we introduced the new KNIME Hub and its first features? Since then our developers have been implementing a lot of additional functionality to make it even easier for you to find and share insights with the community. Learn more in this article.
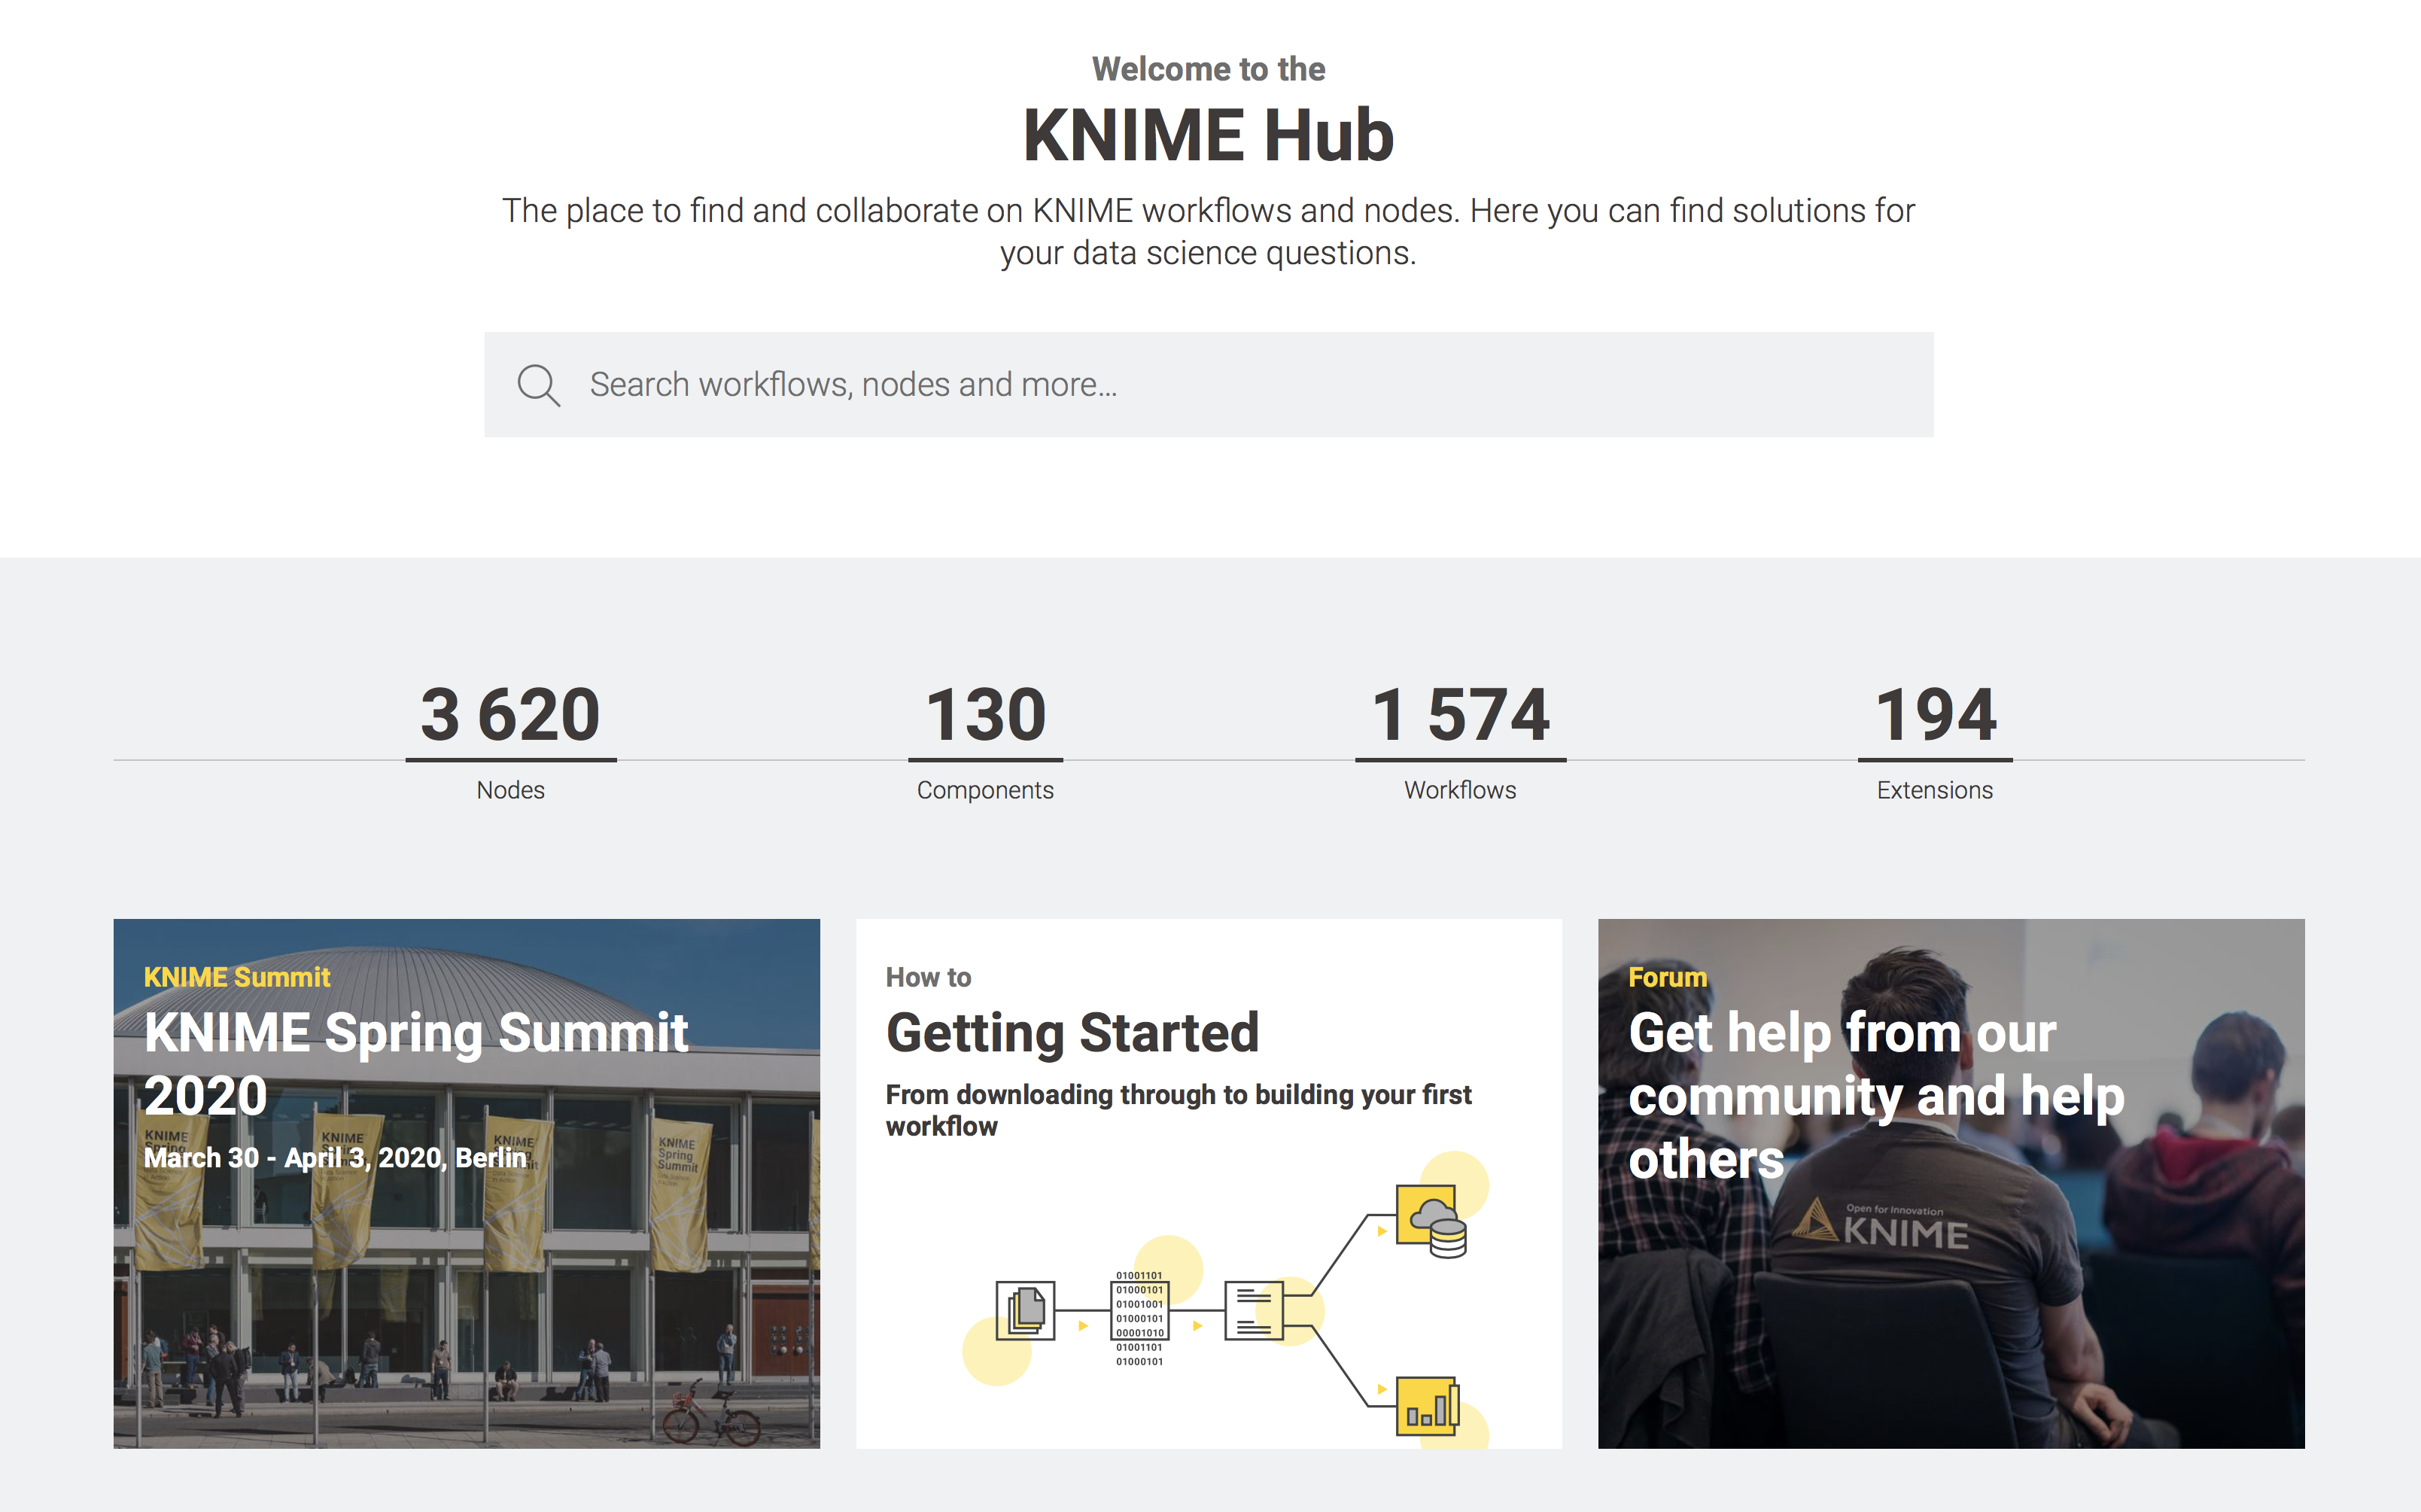
Access components on the KNIME Hub
We introduced components in KNIME Analytics Platform 4.0. To recap on what a component is: Components are nodes that you can create with a KNIME workflow to reuse them for repetitive tasks in your workflows. Like a normal node they can have an interactive view and a dialog. You can use components across your own workflows or share them via KNIME Server or the KNIME Hub.
Example of a component
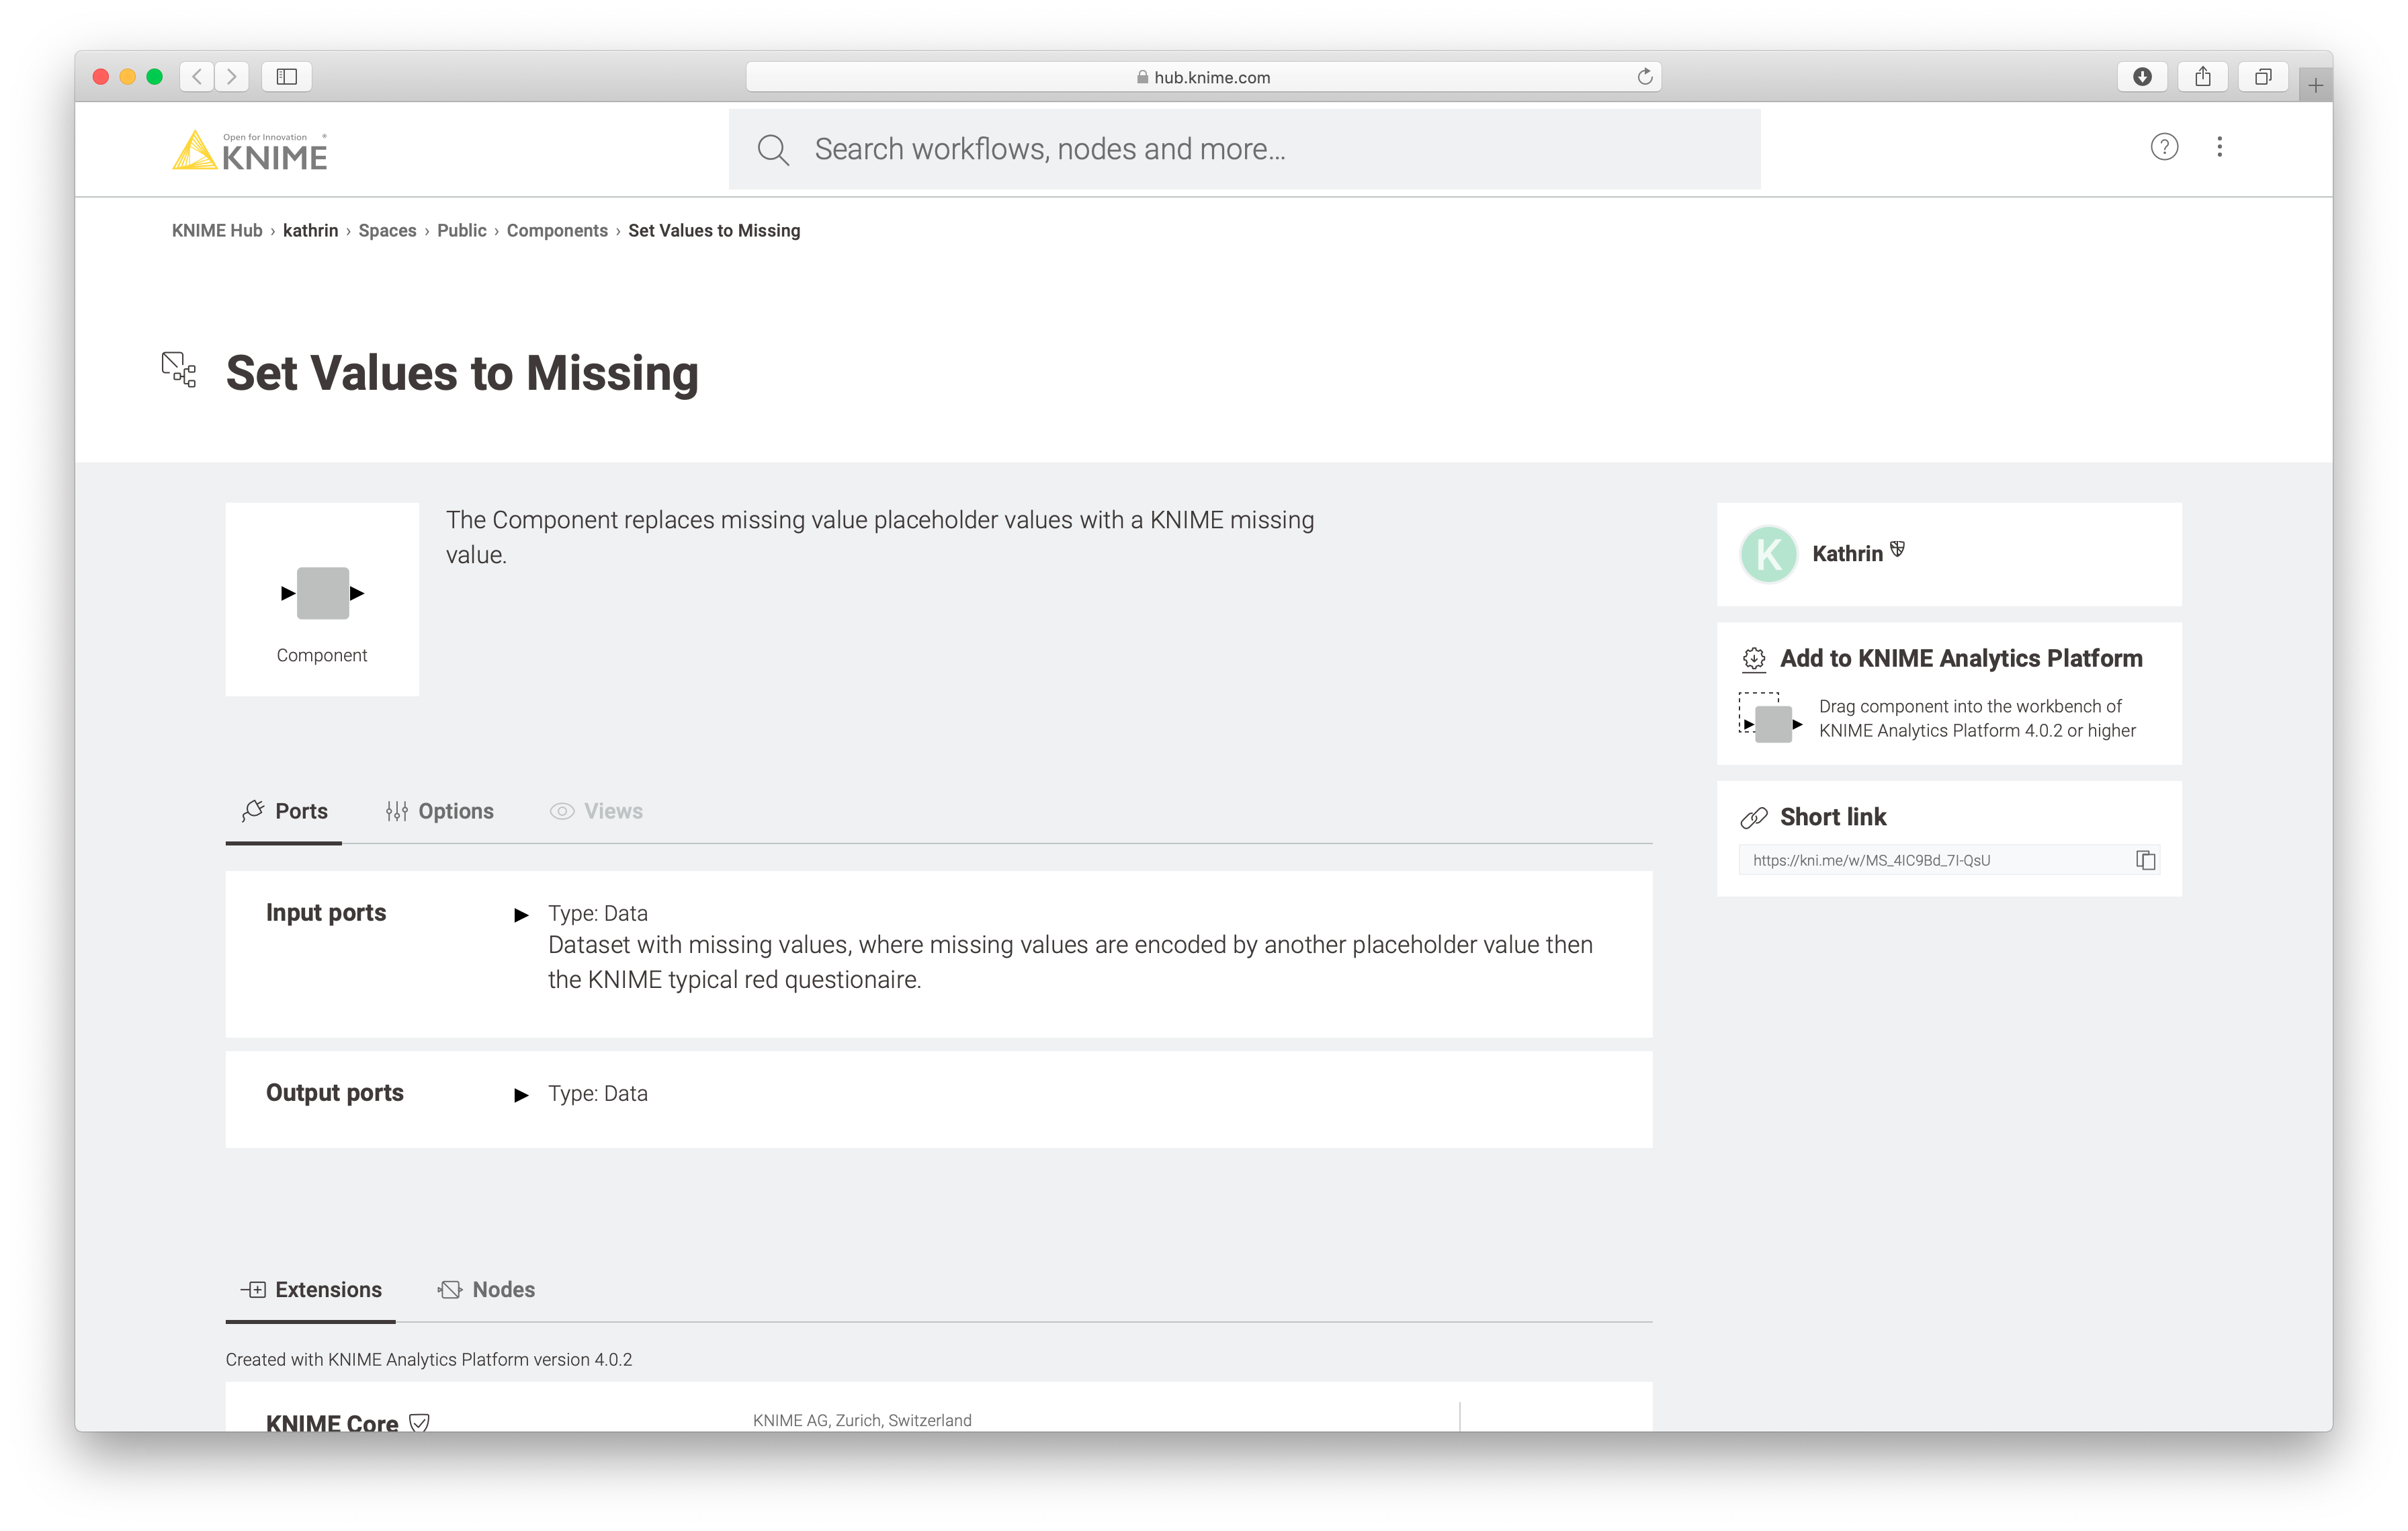
During our series of Data Science Learnathons in the US, we used a dataset where missing values are represented via 9999. This is common in many data science tools that cannot represent missing values explicitly (which causes all sorts of other problems, often skewing the next analysis steps - but that's a separate topic). In order to replace a certain value with a specific missing value (indicated by the red question mark when looking at the table in KNIME) in many columns, participants ended up looping over all columns. The new "Set Values to Missing" reusable component on the KNIME Hub makes this a lot easier by enabling you to define the missing value placeholder in the component dialog. You can see it here on the KNIME Hub.
Documenting component meta information
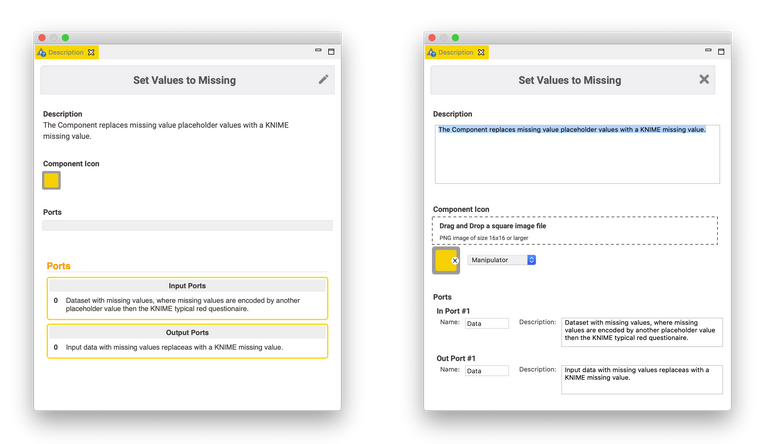
When your component is shared, it’s important to make sure that it’s well documented. By adding meta information, the people you’re sharing the component with can locate it easily and quickly understand what it’s for. Meta information is the term used to refer to the component title, component description, the (customized) icon, its category (color), as well as information about the component’s ports.
To enter or edit an existing meta information, open the component (by right-clicking the component and selecting Component -> Open) and click the pencil “Edit” icon in the description view.
You can now enter a general description about what the component does, as well as information about the component’s ports, giving the ports names, and adding descriptions about them. You can also further customize your component, giving it an image and selecting its category (or color).
How can I upload components to the KNIME Hub and share them?
You can upload your components to the KNIME Hub to either your public or private space (more about public and private space below):
- If you share them to your public space they will be visible to the entire KNIME community.
- Sharing a component to your private space means that it remains visible only to you.
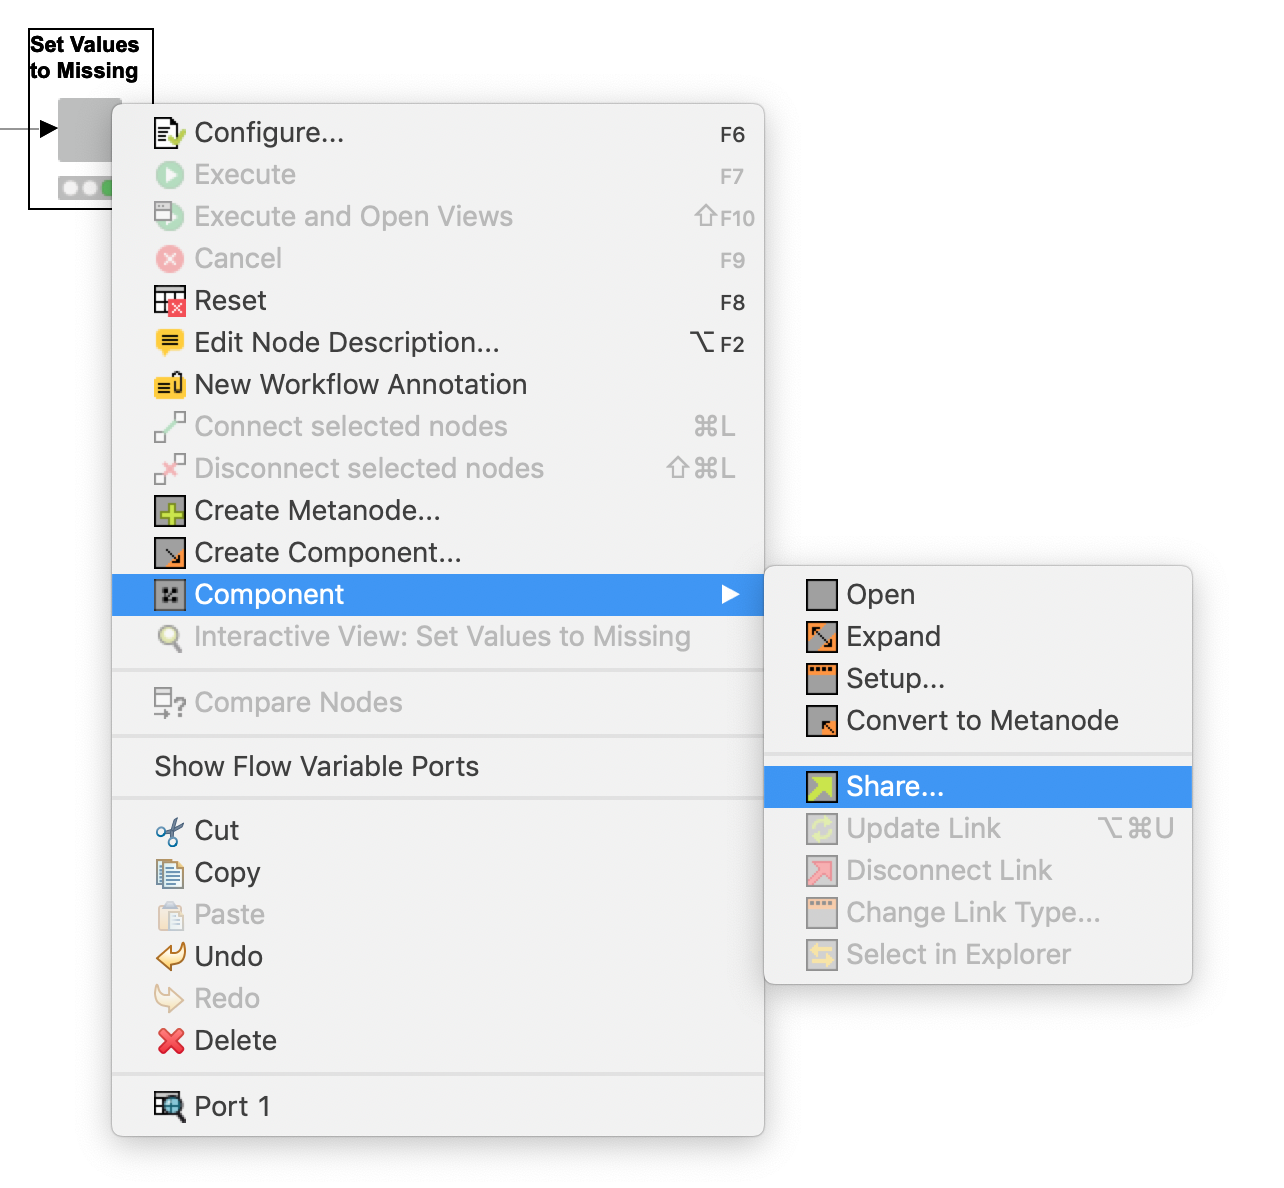
To share a component from your KNIME workbench, right click the component and select Share. You now get to decide whether you want to share it locally or share it to either your public or private space.
What exactly are public and private spaces?
The KNIME Hub has public and private spaces for you to share and organize your workflows and components on the KNIME Hub. Workflows and components uploaded to your public space are publicly available and therefore shared with the entire KNIME community. And if you upload them to your private space (maximum 1GB) they are only visible to you. This feature is supported from KNIME Analytics Platform 4.0.
In short, it’s like having a portable box of workflows and components in one easy to reach location. For example, while I've been working on a component for dealing with missing values. It’s really handy to be able to save this component in a central place - in my private space on the KNIME Hub.
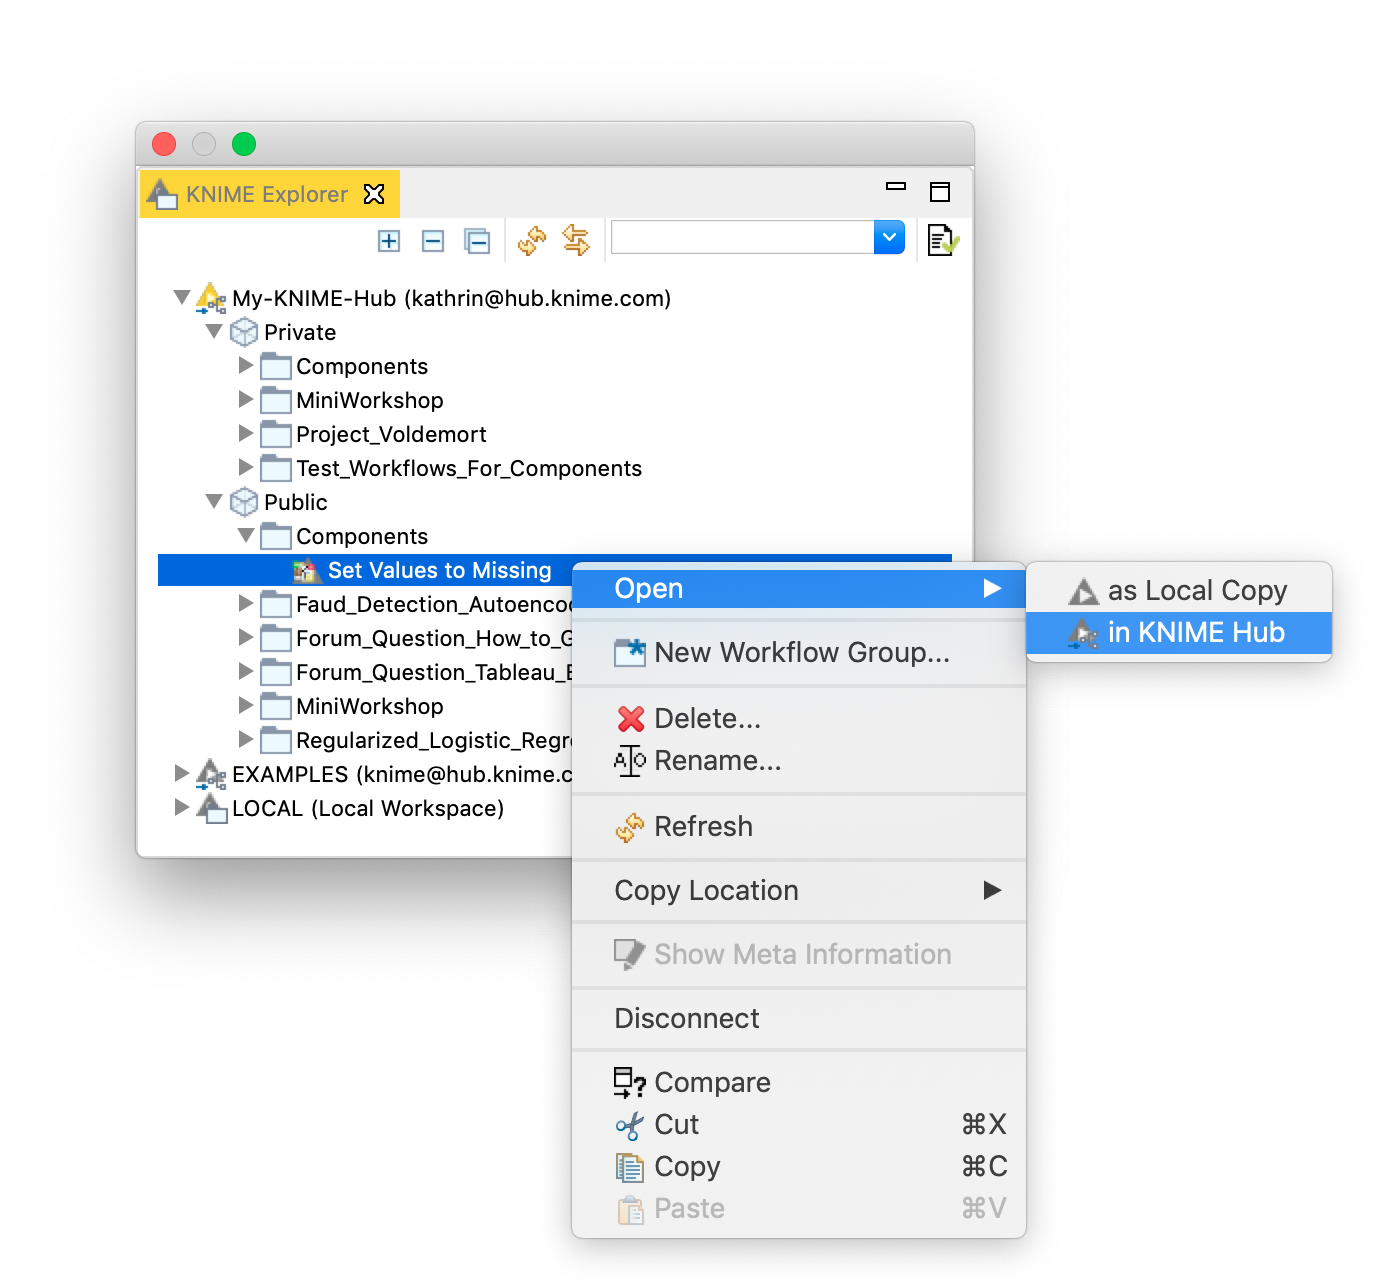
In the screenshot below you can see my public and private space after logging in using my KNIME Account credentials. Amongst a whole lot of other things, you can also see my Set Values to Missing component.
Open component on the KNIME Hub
By right clicking a component, workflow or workflow group in your public space and selecting “Open” -> “in KNIME Hub” you can open it directly on the hub. In the next screenshot, you can see the Set Values to Missing component and what the meta information looks like when the component is displayed on the KNIME Hub.
Find components on the KNIME Hub

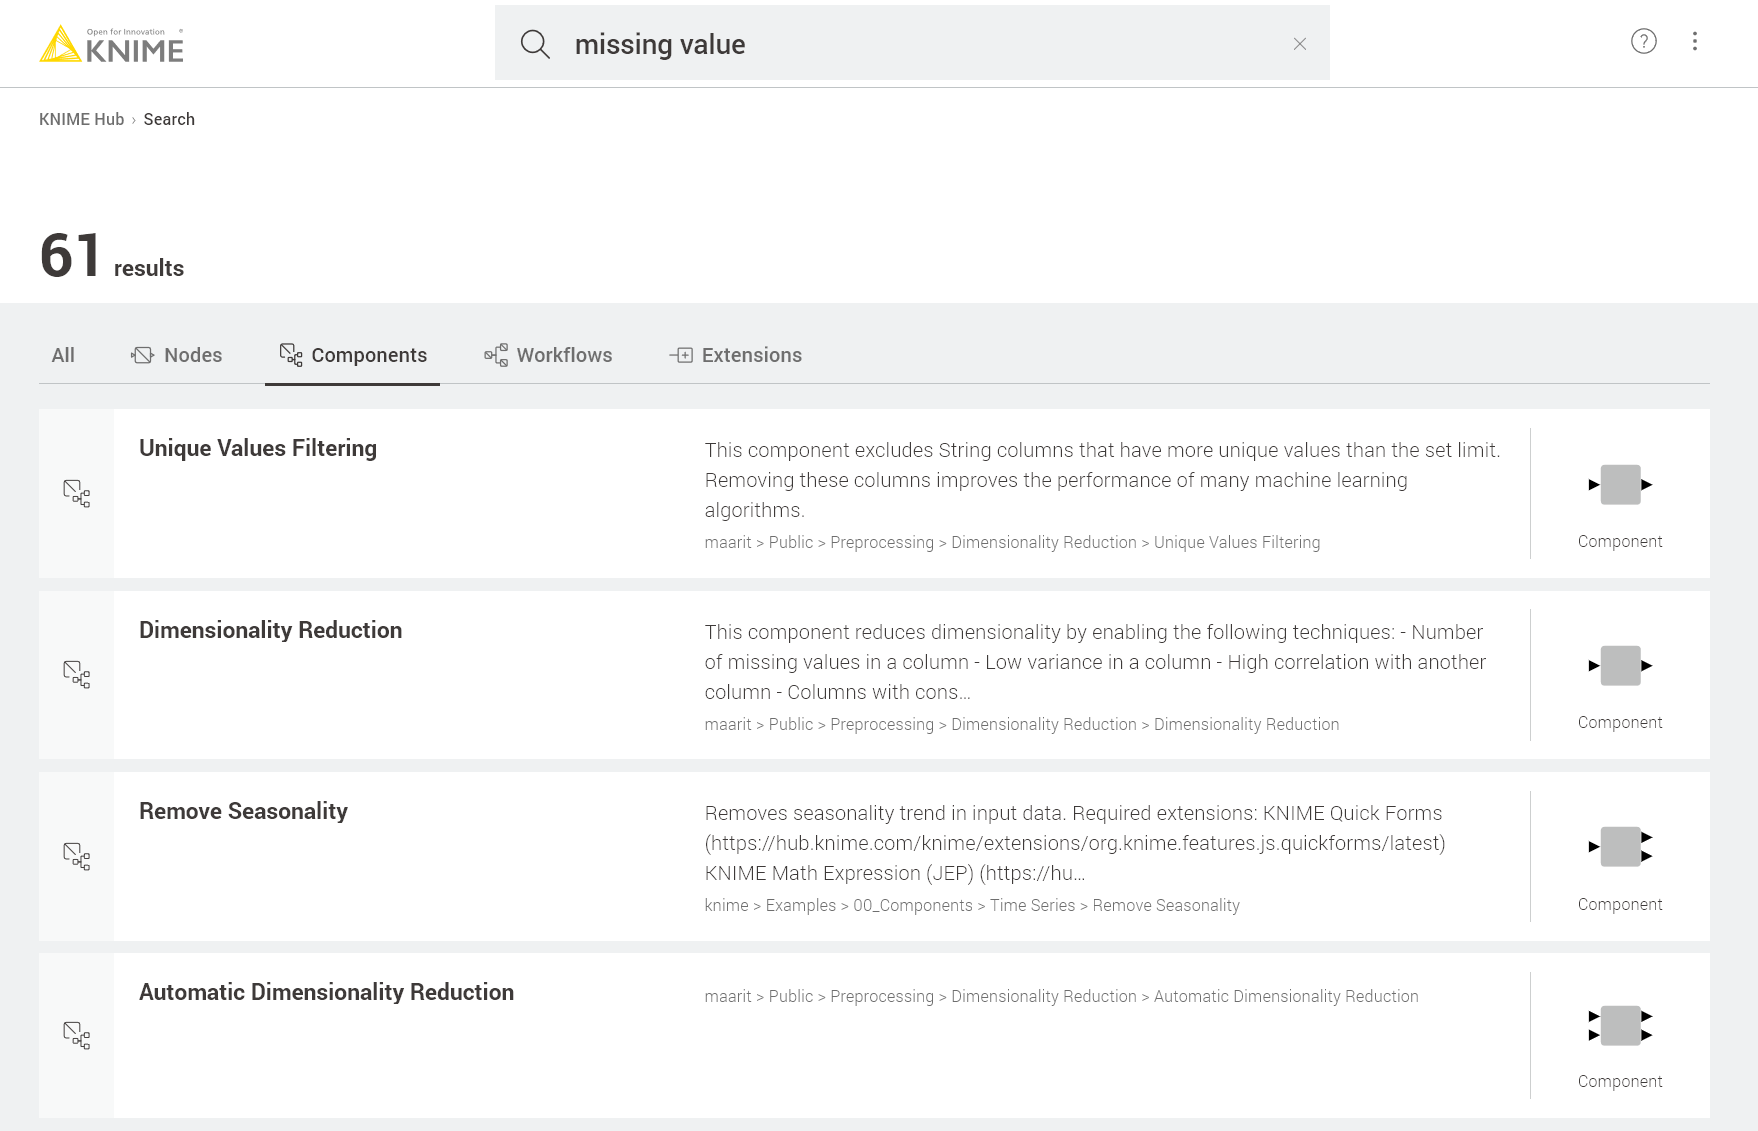
If you’re already using the KNIME Hub, you’re probably used to seeing the thousands of nodes already available there and using the search function to find the ones you need. You can also search the KNIME Hub for components that have been uploaded there by KNIME and the community.
For example: Do you want to include map visualization in your workflow, but you discover there’s no specific node for the job? Well, there might be a component. Need basic building blocks for your Guided Automation workflow or for setting missing values? Looks like there could be some components on the Hub to get you started.
Enter what you’re looking for into the search box and then filter your search by clicking the “Components” tab.
Drag and drop components
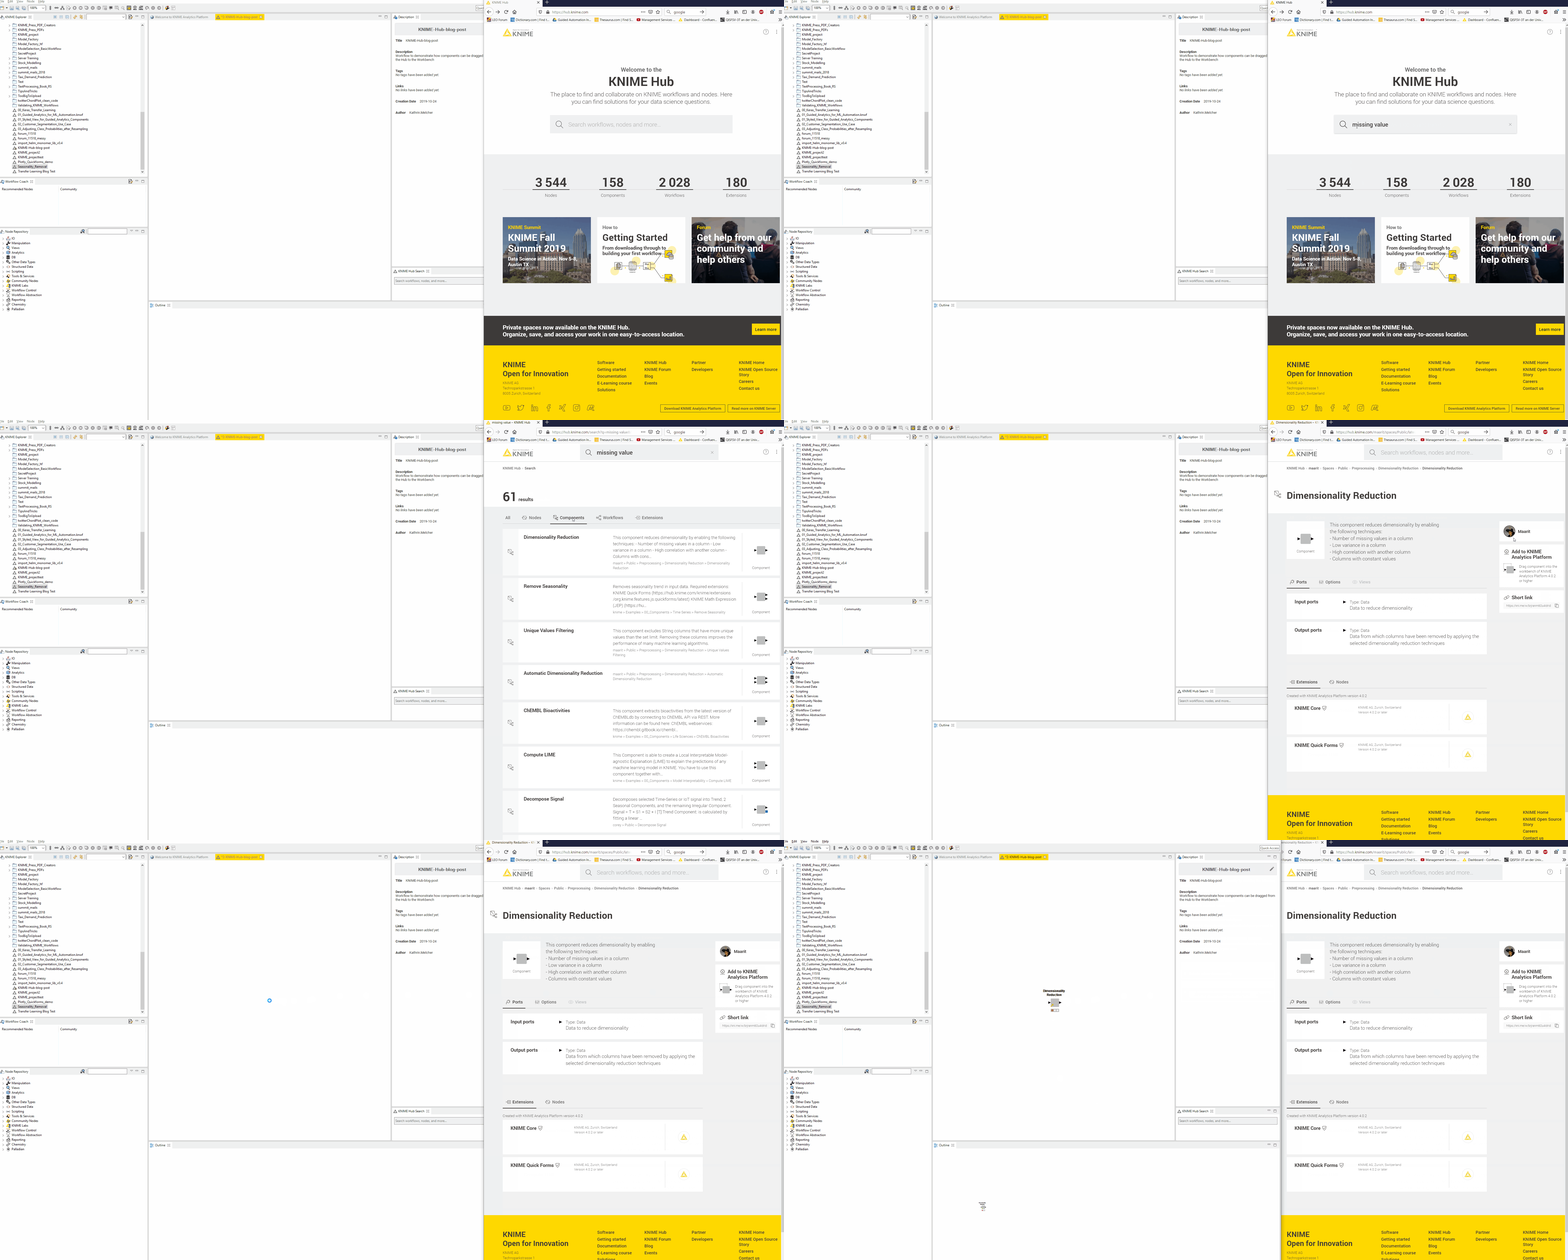
You can make use of components on the KNIME Hub by dragging and dropping them from the KNIME Hub to your workflow. If the component you want to use requires a specific extension that you don’t have, the system detects this, and KNIME Analytics Platform will automatically prompt you to install it.
Extensions on the KNIME Hub

If you want to look for specific extensions and the nodes that are part of an extension you can do this via the KNIME Hub search. In addition to the KNIME Extensions and Integrations provided by KNIME, thanks to the active KNIME Community there are lots of extensions for KNIME Analytics Platform of a wide range of topics, from deep learning, chemoinformatics, image processing to text mining. The KNIME Hub gives you the option to search for extensions and install them easily from the browser by drag & drop.
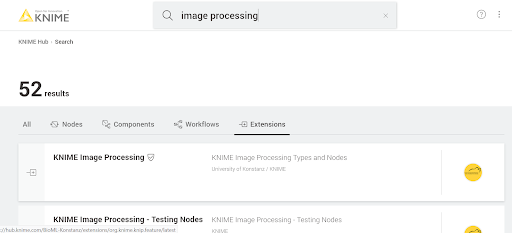
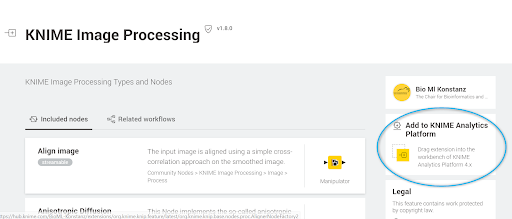
Entering “image processing” in the search field on the KNIME Hub and filtering by the Extensions tab produces a list of all the extensions available for KNIME Analytics Platform on this topic. When you click on the first entry in the list, “KNIME Image Processing”, you access a page detailing all the nodes included in the particular extension plus a list of example workflows related to this extension.
If you now decide you would like to install this extension to your version of KNIME Analytics Platform you just drag the extension to your KNIME workbench.
Authors: Kathrin Melcher, Tobias Schmidt, Christian Dietz (KNIME).
-----------------------
If you have an interesting component or workflow you’re thinking about uploading to the KNIME Hub, tell us about it - maybe you’d like to write an article about it for the KNIME Blog. Write to blog@knime.com
